> For the complete documentation index, see [llms.txt](https://thirdeyegen.gitbook.io/developer-portal/llms.txt). Markdown versions of documentation pages are available by appending `.md` to page URLs; this page is available as [Markdown](https://thirdeyegen.gitbook.io/developer-portal/android-development/build-your-first-app-in-java.md).
# Build Your First App in Java
### **Create a new project**
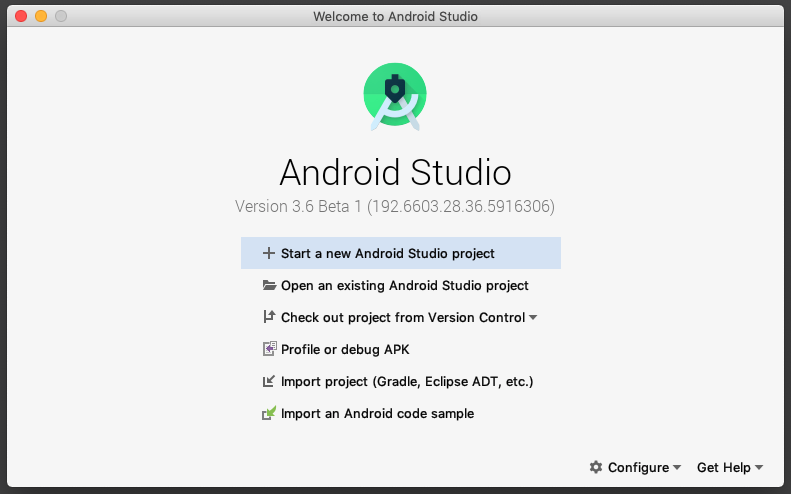
Open Android Studio.
In the Welcome to Android Studio dialog, click Start a new Android Studio project.
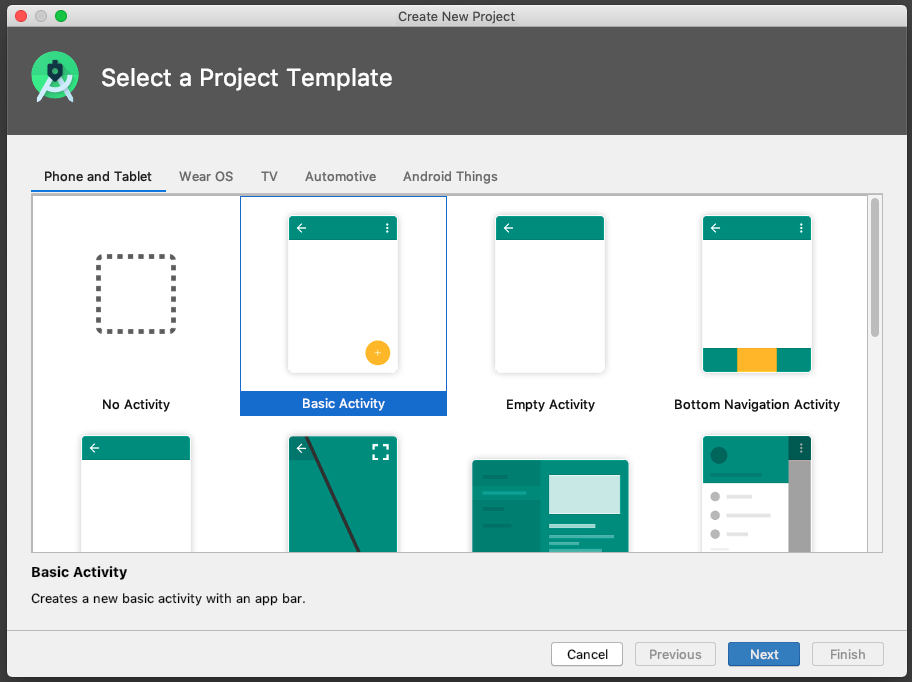
Select **Basic Activity** (not the default). Click **Next**.
Give your application a name.
Make sure the Language is set to Java(Development in Kotlin is supported but this guide will cover java development).
Make sure to set Minimum SDK Version” to “27”
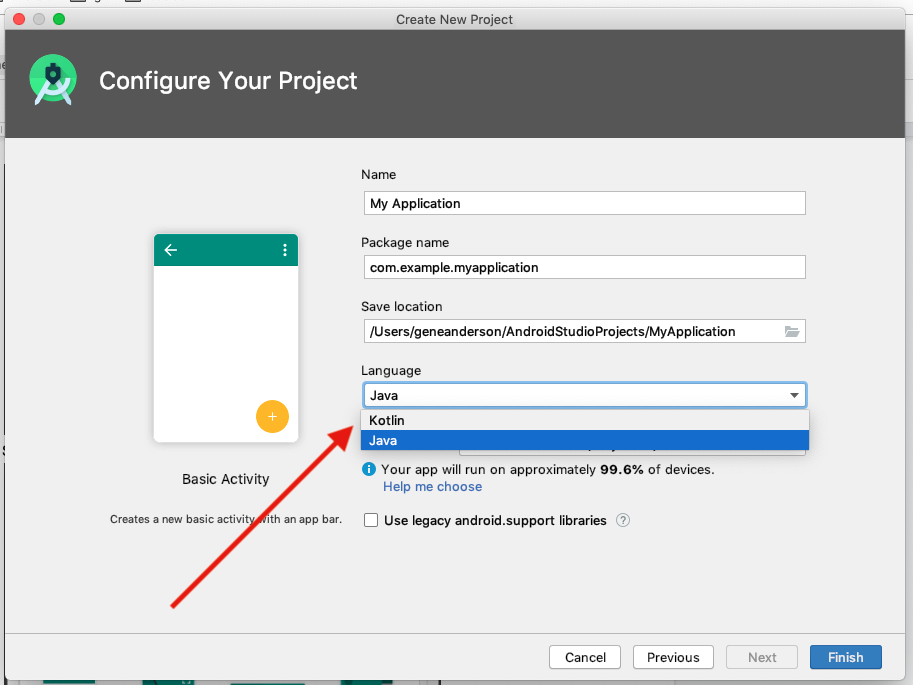
**Click Finish**.
### Modify the Layout of your application
Main Activity is the run screen that a user will encounter when open your app. Navigate to activity\_main.xml on the left pane.
This should open the layout manger.
Switch to visual layout mode.
Change the device to TV(720p) and the orientation to landscape.

Ensure that all other layouts are configured the same way.
Your application is now be ready to run on the X2 headset.
### Run your app on X2
What you need:
* A USB-C Cable to connect X2 to USB port on your computer.
* If you are using a Linux or Windows OS, you may need to perform additional steps to run your app on X2 Check the [Run Apps on a Hardware Device](http://developer.android.com/tools/device.html) documentation. On Windows, you may need to install the appropriate USB driver for your device.
#### **Run your app on a device**
To let Android Studio communicate with your device, you must turn on USB Debugging on your Android device. By Default X2 has ADB(Android Debug Bridge) enabled.
If for some reason it is disable you can enable it by"
1. On your device, open **Settings > About phone** and tap **Build number** seven times.
2. Return to the previous screen (**Settings**). **Developer options** appears at the bottom of the list. Tap **Developer options**.
3. Enable **USB Debugging**.
#### Starting your app
1. Connect your device to your development machine with a USB cable. On the device, you might need to agree to allow USB debugging from your development device.
2. In Android Studio, click **Run**  in the toolbar at the top of the window. The **Select Deployment Target** dialog opens with the list of available emulators and connected devices.
3. Select your device, and click **OK**. Android Studio installs the app on your device and runs it.